The first of hopefully many, the plan is at least one per week, but we will see how it goes.
This one was inspired from a t-shirt order I had at work. The client sent me a .psd file of a distressed logo; for those who don’t know, that means a file that was made in Photoshop. The problem is that for t-shirts, we need the files as vector, and Photoshop is usually a raster file. (more on this on a different post). I had to remake the logo in a vector format, to be able to print it. So here it is, the easiest way I know to make something distressed (grungy, texturized or just vintage looking) in Illustrator.
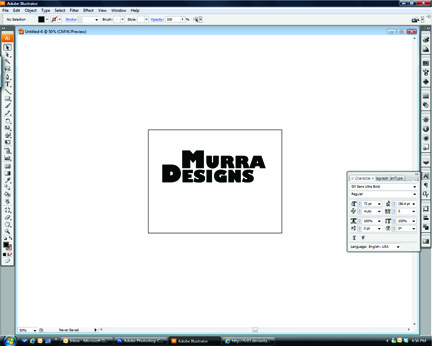
• I’ll get the obvious out of the way: Have the logo Idea, open Illustrator, create a new file to the size you will need.
• Build the basic shapes. For this Tutorial, I’m using a simple font based logo. Bold fonts work the best:
• You will need a texture image, do a google search or make your own. My client had drips and stains; I made my own playing with brushes in Photoshop. Saved it as a JPG (.gif, .tiff or .png will wok as well). Usually the ones that have a lot of contrast work better.
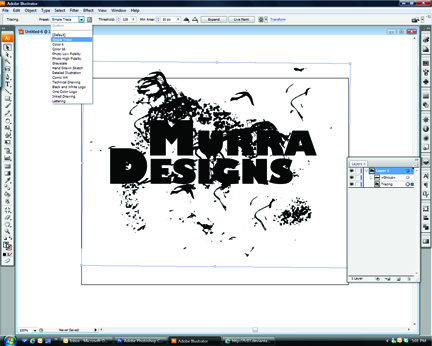
• Once you have the texture, import it, or drag it to your illustrator file. An do a live trace, and chose the simple trace; this option ignores the white in the image and make all the colors black
• Now, comes my newly found tool, it has become my favorite: The pathfinder. For this specific case I use the divide option. Make sure you have both the letters and the texture selected, then click the divide option, this will cut all the interceptions.
•At this point I just delete the extra vectors.
et voila!


